If you’ve ever wondered how to make homemade stock that delivers deeper flavor than anything from a carton, you’re in the right place. Whether you’re building better soups, boosting weeknight grains, or creating restaurant-quality sauces at home, mastering stock is the foundation that transforms everyday cooking.
This guide is designed for home cooks who want clear, practical steps—not vague tips. We’ll walk through the essential ingredients, flavor-building techniques, simmering times, and storage methods that make the difference between flat broth and rich, layered stock.
Our approach draws on tested kitchen techniques, culinary best practices, and insights from professional chefs who rely on stock as a core building block in flavor development. From choosing the right bones or vegetables to skimming, straining, and storing properly, you’ll learn exactly what works—and why.
By the end, you’ll have the confidence to turn scraps and simple ingredients into liquid gold for your kitchen.
The Foundation of Flavor: Why Your Kitchen Needs Homemade Broth
By mastering the art of crafting rich, flavorful stocks at home, you can elevate your cooking game and create wholesome meals that align perfectly with the nutritious options outlined in our **Ontpdiet Food Guide From Ontpress**.
I used to think boxed broth was fine—until a Sunday when I simmered chicken bones for hours and tasted the difference. Suddenly, soups had body, risotto felt restaurant-worthy (yes, like something out of Ratatouille), and my kitchen smelled alive. So why settle?
Commercial broths often contain sodium and preservatives, linked to blood pressure when overconsumed (CDC). Instead, try how to make homemade stock: roast bones, add mirepoix—carrots, celery, onions—cover with water, and simmer.
- Skim impurities
- Add herbs late
- Cool quickly
Pro tip: freeze portions for weeknight depth.
The Broth Trinity: Choosing Your Core Ingredients
Great broth begins with three pillars: bones or protein, aromatics, and herbs or spices. Get these right, and you’re not just making liquid—you’re building structure, depth, and body (yes, broth has architecture).
1. Bones & Protein: The Foundation
First and foremost, bones determine richness and texture. Chicken bones create a light, versatile broth that works in everything from ramen to risotto. Beef bones, especially marrow and knuckle bones, yield a darker, more robust result packed with collagen—the protein that gives broth its silky mouthfeel. Vegetable scraps, meanwhile, deliver umami (that savory “fifth taste”) through ingredients like mushroom stems and onion skins, making them ideal for plant-based cooking.
For deeper flavor, roast bones at 400°F for 30–45 minutes before simmering. This triggers the Maillard reaction, a chemical process that browns proteins and enhances complexity. Pro tip: add a splash of vinegar to help extract minerals during long simmers.
2. Aromatics: The Mirepoix
Next comes mirepoix—the classic trio of onion, carrots, and celery. A standard ratio is 2:1:1. Rough chopping is ideal for long cooking because it releases flavor gradually without clouding the broth. Alternatively, try leeks for sweetness, parsnips for earthiness, or fennel for subtle anise notes.
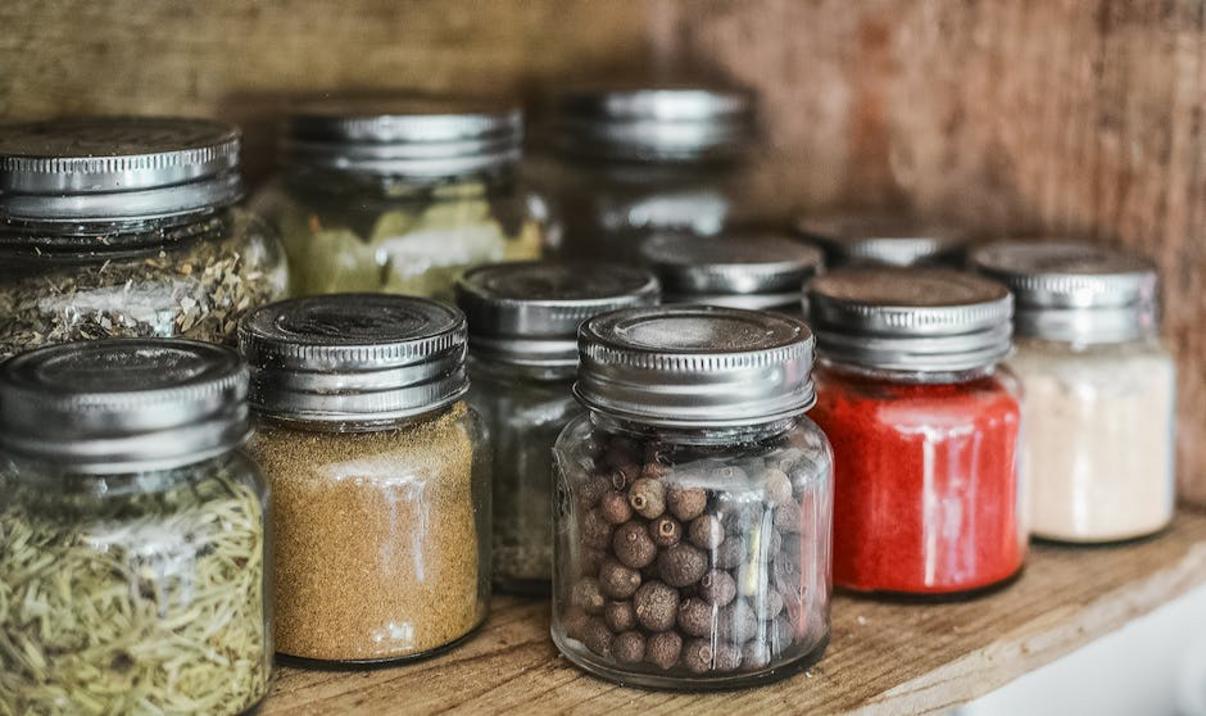
3. Herbs & Spices: The Finishers
Finally, layer in whole spices like peppercorns, star anise, or cloves, along with hardy herbs such as thyme and bay leaves. These withstand hours of simmering. Delicate herbs—think parsley leaves—should be added near the end to preserve freshness.
Master these elements, and you’ll understand exactly how to make homemade stock with confidence and control.
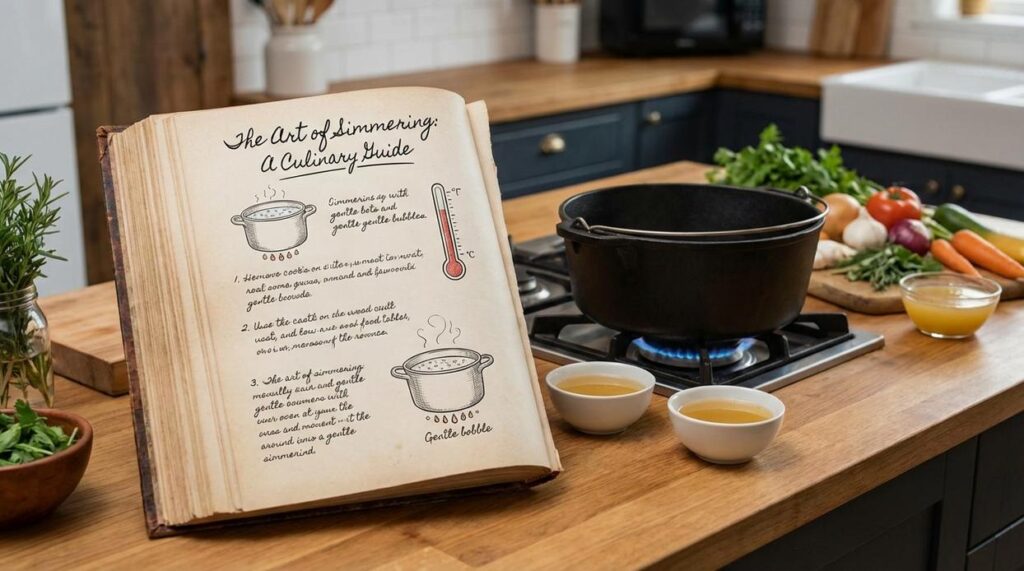
The Simmering Process: A Step-by-Step Guide to Liquid Gold
Great broth isn’t luck—it’s method. If you’ve ever wondered how to make homemade stock that tastes like it simmered in a Michelin-star kitchen (instead of your Tuesday night rush), it comes down to technique.
Step 1: The Blanch & Roast (For Meat Broths)
Blanching means briefly boiling bones, then draining and rinsing them. This removes impurities like blood and proteins that cloud flavor. After that, roast at 425°F until deeply browned. This triggers the Maillard reaction—a chemical process where heat transforms proteins and sugars into complex, savory flavors (think steakhouse aroma). The benefit? A broth that’s clear, clean, and richly layered.
Step 2: The Cold Water Start
Always start with cold water. As the temperature rises slowly, collagen (the connective tissue protein in bones) dissolves gradually into gelatin, giving body and silkiness. Dumping bones into hot water locks flavor inside. Cover ingredients by about an inch—enough to extract, not drown.
Step 3: The Slow Simmer
Bring the pot to a bare simmer—gentle bubbles lazily breaking the surface. A rolling boil emulsifies fat into the liquid, making broth greasy and cloudy. A slow simmer keeps it clear and refined (broth shouldn’t look like a hot tub).
Step 4: Skimming & Patience
During the first hour, foam rises. Skim it. This removes coagulated proteins that muddy taste. Simmer times matter: chicken 4–6 hours, beef 8–12 hours, vegetables 1–2 hours. Longer isn’t always better—vegetables can turn bitter.
Step 5: Straining & Cooling
Strain through a fine-mesh sieve lined with cheesecloth for clarity. Cool rapidly using an ice bath to move through the food safety “danger zone” (40–140°F) quickly, per USDA guidelines.
Clarity equals control. Master this process, and even your prep improves—especially if you’ve tackled knife skills 101 essential cuts every home cook should know.
Level Up Your Broth: Flavor Fusions & Pro Hacks
Great broth isn’t just comforting—it’s layered, complex, and just a little surprising. As one chef friend told me, “If your broth tastes flat, it’s begging for umami.” Umami—often called the fifth taste—is that savory depth found in foods like aged cheese, mushrooms, and soy sauce (think of the rich savoriness in ramen that makes you close your eyes for a second).
To build it, try adding kombu (mineral-rich seaweed), dried shiitake mushrooms, or a spoonful of miso or tomato paste. These ingredients are natural glutamate sources, which enhance savory flavor (National Academy of Sciences). Not everyone agrees with boosting broth this way. “Shouldn’t stock be pure bones and water?” a home cook once asked me. Fair point. But a subtle addition doesn’t overpower—it amplifies.
Next, consider fermentation’s quiet superpower: acidity. A splash of apple cider vinegar helps draw minerals and collagen from bones during simmering (Harvard Health notes acid aids mineral extraction). You won’t taste it if you keep it small—about a tablespoon per pot. Pro tip: add it at the start and let the bones sit in cold water for 20 minutes before heating.
Now for practicality. The “broth bank” is a meal-prep game changer. Freeze broth flat in zip-top bags, pop portions from silicone muffin tins, or make concentrated cubes in ice trays for quick pan sauces.
Finally, go zero-waste. Save onion peels, carrot ends, and celery tops in a freezer bag. Once full, use them in how to make homemade stock and turn scraps into liquid gold. As my neighbor says, “Flavor shouldn’t hit the trash can.”
“Your broth is no longer just a base; it’s your signature.”
When a friend asked, “Why does your soup taste different?” I smiled and said, “Patience and scraps.”
You now know how to make homemade stock and transform leftovers into liquid gold.
No more salty, one-dimensional cartons lurking in pantry.
Remember: quality ingredients plus a slow simmer equal depth (and bragging rights).
Start broth bank this week:
- Save vegetable scraps and bones
- Label and freeze portions
- Skim and strain with care
“Trust the process,” my grandmother whispered, low and slow wins.
Future meals will thank you.
You came here to deepen your understanding of flavor, technique, and the small culinary shifts that make a big impact in your kitchen. Now you have the insights to experiment with fermentation, layer bold flavor fusions, and confidently elevate everyday meals.
If you’ve ever felt stuck cooking the same dishes on repeat or frustrated by flat, one-dimensional flavors, you’re not alone. Great cooking isn’t about complicated recipes — it’s about mastering foundations like how to make homemade stock and building from there. When you control your base ingredients, you control the depth, richness, and character of every dish that follows.
The next step is simple: pick one technique you learned today and put it into practice this week. Start a small fermentation project, test a new ingredient pairing, or simmer a batch of stock and taste the difference for yourself.
Turn Flavor Knowledge Into Action
Don’t let your meals stay average. If you’re serious about cooking with more confidence and creativity, dive into more expert-backed culinary insights and practical kitchen strategies trusted by passionate home cooks everywhere. Explore more guides now and start transforming your everyday meals into unforgettable ones.