If you’re searching for a bold, complex heat that transforms everyday meals, you’re in the right place. This guide to creating a fermented chili paste recipe is designed for home cooks who want deeper flavor, natural preservation, and that unmistakable umami kick only fermentation can deliver. Instead of relying on store-bought sauces filled with additives, you’ll learn how to craft a paste that develops character over time—layered, tangy, and intensely aromatic.
We break down the science behind fermentation, explain how to select the right chilies and salt ratios, and share practical tips to ensure safe, consistent results. Our approach is rooted in hands-on kitchen testing, food safety best practices, and insights drawn from modern fermentation techniques used by culinary professionals.
Whether you want to elevate marinades, stir-fries, noodles, or dipping sauces, this article gives you a clear, step-by-step path to mastering a fermented chili paste that’s uniquely yours.
Unlock a New Dimension of Flavor with Homemade Chili Paste
There’s a world of difference between sharp, one-note heat and the deep, savory hum of fermented chili paste. The first hits fast and fades; the second blooms slowly—smoky, tangy, alive. Unfortunately, many store-bought versions taste flat, dulled by preservatives and excess vinegar. In contrast, fermentation coaxes out natural umami (that rich, mouth-filling savoriness) while developing complex aromas that smell faintly sweet and funky.
This comprehensive, beginner-friendly fermented chili paste recipe walks you step by step, from chopping bright red chilies to hearing that gentle fizz of active fermentation, ensuring bold flavor in every spoonful.
Why Fermentation is the Secret to Superior Chili Paste
First, let’s talk flavor. Lacto-fermentation (a process where beneficial bacteria convert sugars into lactic acid) breaks down the natural sugars in chilies and creates layers of savory, tangy depth. Heat alone can toast or caramelize—but it can’t build that slow, complex umami. Think of it like the difference between fresh dough and sourdough bread (both good, one far more interesting).
Just as importantly, fermentation preserves. As lactic acid forms, it lowers the pH, creating an acidic environment that prevents harmful bacteria from growing (CDC confirms acidic conditions inhibit pathogens). In other words, your paste stays safe and vibrant for months—no artificial preservatives required.
Beyond shelf life, there’s a wellness bonus. Live fermented foods can contain probiotics, which may support gut health when consumed regularly (NIH).
Finally, texture transforms. Over time, chilies soften, fibers break down, and flavors meld into a smoother, cohesive paste. If you’ve ever followed a fermented chili paste recipe and wondered why it tastes better after a week—now you know.
Gather Your Ingredients and Equipment
The first time I made a fermented chili paste recipe, I grabbed whatever peppers were on sale. Big mistake. The flavor was flat, and the heat? All chaos, no harmony. Since then, I start with intention.
The Chilies (The Star)
Choose fresh, blemish-free peppers (soft spots can invite mold). For balance, try:
- Fresno for fruitiness
- Thai for a sharp kick
Together, they create layered heat instead of a one-note burn.
The Aromatics (The Supporting Cast)
Next, build depth with fresh garlic and ginger. For fusion flair, add lemongrass or shallots. (Think of it as assembling a culinary ensemble cast.)
The Salt (The Gatekeeper)
Use non-iodized salt like sea or kosher. Iodine can hinder fermentation. Aim for 2–3% salt by weight of peppers for safety (CDC recommends proper salinity to prevent harmful bacteria growth). If unsure, review common fermentation mistakes and how to avoid them.
The Equipment (The Tools)
- Glass jar with lid
- Fermentation weight or small ziplock bag
- Knife and cutting board
- Blender or food processor
Pro tip: Always weigh, don’t guess.
The Step-by-Step Fermentation Process
Step 1: Preparation (100 words)
Start by washing your chilies and aromatics (garlic, onions, or shallots) under cool running water to remove debris and surface microbes. Roughly chop everything so the pieces are uniform—this ensures even fermentation. If you prefer a milder paste, remove the stems and scrape out the seeds and membranes, where most capsaicin (the compound responsible for heat) concentrates. Weigh your ingredients with a kitchen scale before adding salt. Accurate ratios matter: research shows a 2–3% salt concentration by weight encourages beneficial lactic acid bacteria while inhibiting spoilage organisms (Journal of Food Protection, 2014). Precision here prevents problems later.
Step 2: Creating the Mash (100 words)
Combine the chopped chilies, aromatics, and measured salt in a food processor. Pulse in short bursts until you achieve a coarse, salsa-like mash. Avoid over-blending at this stage; texture helps trap natural juices. As salt draws water from plant cells through osmosis, it forms a natural brine. This liquid is essential because fermentation is an anaerobic process (meaning it happens without oxygen). According to the USDA Complete Guide to Home Canning, proper brine formation is key to safe vegetable fermentation. If the mash looks dry, let it rest 10–15 minutes and pulse again. (Patience beats panic every time.)
Step 3: Packing and Fermenting (100 words)
Spoon the mash into a clean glass jar, pressing firmly with a spoon to remove trapped air pockets. Air exposure increases mold risk, so compacting is crucial. The brine should rise above the solids; if not, press again until submerged. Place a fermentation weight on top to keep everything below the liquid line. Lactic acid bacteria thrive in oxygen-free environments, producing tangy acidity that preserves the paste. Store the jar in a cool, dark spot—ideally 60–75°F. Studies from Colorado State University Extension confirm this range supports steady fermentation without encouraging spoilage microbes.
Step 4: Monitoring and Finishing (50 words)
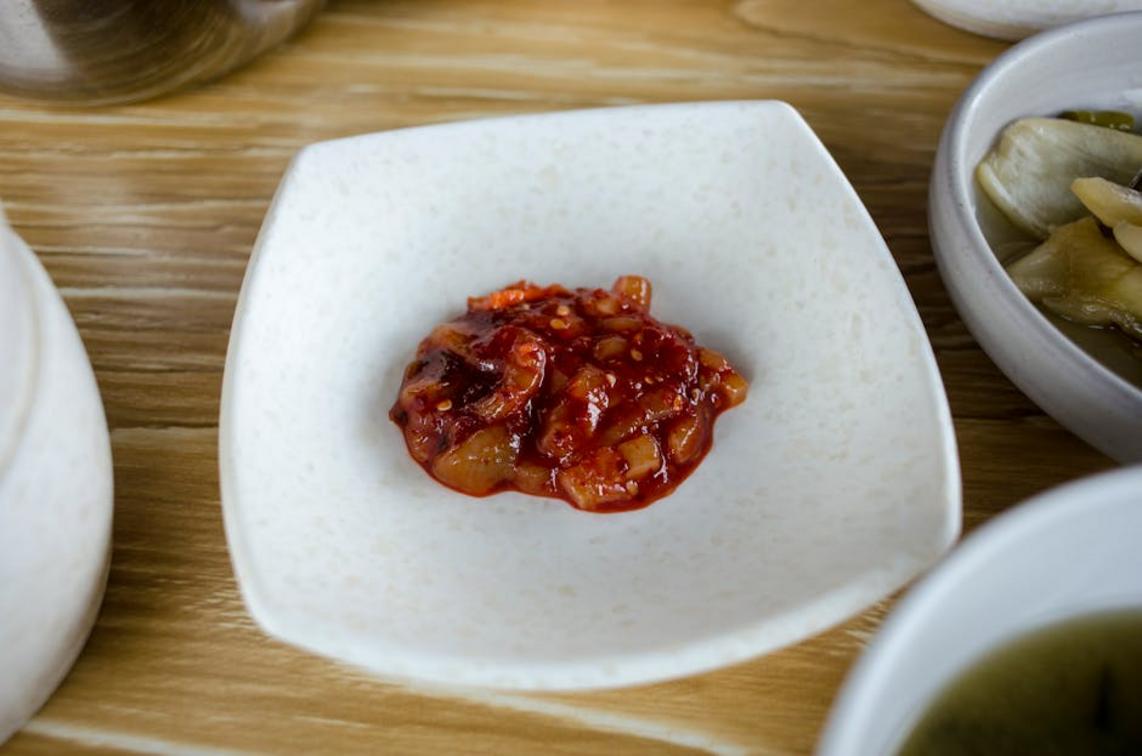
Over 5–10 days, look for bubbling and a pleasantly sour aroma—signs of active fermentation. “Burp” the jar daily to release built-up carbon dioxide. Once the flavor suits you, blend to your desired consistency. This completes your fermented chili paste recipe. Refrigerate to slow fermentation and stabilize flavor.
Troubleshooting and Pro Tips for a Perfect Ferment
Fermentation is part science, part patience test (and yes, I’ve stared at jars like they’d magically bubble on command). If you spot a white film on top, don’t panic. It’s often Kahm yeast—a harmless, thin layer you can scrape off. Fuzzy, green, or black mold, though? Toss the batch. No heroics. Keeping everything submerged under brine is your best defense.
No bubbling activity? In my experience, it’s usually a cold room or simple impatience. Fermentation slows below 65°F (18°C). Try moving the jar to a warmer spot—on top of the fridge works wonders. Give it time.
Here’s where it gets fun. After your fermented chili paste recipe is done, experiment. A splash of fish sauce, rice vinegar, or honey can balance heat with depth. I’m firmly in the “flavor fusion makes everything better” camp.
And don’t stop at chilies. Bell peppers or carrots ferment beautifully, creating sweet, complex pastes worth bragging about.
For a quick meal prep hack, whisk your vibrant paste with soy sauce and sesame oil for an instant marinade for chicken, tofu, or beef. Ever opened the fridge and wondered, What can I cook fast? This is it.
- Stir a spoonful into soups or ramen for deep umami heat.
- Swirl into mayo or butter for a bold spread.
- Spoon over eggs or avocado toast.
Need a bright dressing? Shake chili paste, olive oil, and lime juice.
If you followed a fermented chili paste recipe, why stop at one dish? Pro tip: start small; heat builds. It wakes everything up.
Bring the Heat to Your Kitchen
You came here looking for a way to elevate your cooking with deeper flavor, smarter techniques, and a reliable fermented chili paste recipe you can trust. Now you understand how fermentation builds complexity, how balanced heat transforms a dish, and how simple ingredients can create bold, layered results.
If you’ve ever felt like your meals were missing that punch of depth or that unforgettable kick, this is your turning point. Fermentation isn’t just a trend—it’s the secret to richer taste, better texture, and more dynamic dishes without relying on artificial shortcuts.
Now it’s your move. Gather your ingredients, start your own batch of fermented chili paste recipe, and experiment with it in marinades, stir-fries, soups, and dressings. Don’t let bland meals hold you back.
Join thousands of home cooks who are upgrading their flavor game with proven techniques and practical kitchen insights. Start fermenting today and taste the difference in every bite.