Curious about the latest culinary buzz, bold flavor fusion ideas, and smarter ways to elevate your meals at home? This article is designed to satisfy that exact appetite. Whether you’re exploring trending ingredients, experimenting with fermentation, or looking for practical meal prep hacks that actually save time, you’ll find clear, actionable insights tailored to modern home cooks and food enthusiasts.
We break down complex techniques into approachable steps, spotlight standout ingredients worth adding to your kitchen, and explain the science behind flavor so you can cook with confidence—not guesswork. Special attention is given to safe food fermentation practices to ensure that your creative experiments are both delicious and reliable.
Our guidance is grounded in hands-on culinary testing, continuous research into emerging food trends, and a deep understanding of how flavors interact. The goal? To help you cook smarter, waste less, and create meals that feel both innovative and achievable.
Fermentation gives you bold flavor and a happier gut in one jar. Think sauerkraut, fizzy kombucha, spicy kimchi. Yet many hesitate, worried about mold or food poisoning (no one wants a science experiment gone wrong).
Here’s my recommendation: keep it simple and controlled.
- Start with produce and clean jars.
- Measure salt precisely—2% by weight is a reliable baseline.
- Keep ferments submerged to limit oxygen.
Use safe food fermentation practices in the section once exactly as it is given
When you respect salt, temperature, and time, bacteria outcompete pathogens, creating acidity that preserves food. Confidence replaces kitchen fear.
The Science of a Safe Ferment: How Good Bacteria Protect Your Food
What Is Lacto-Fermentation?
Understanding the science behind safe food fermentation practices not only enhances the flavors and preservation of your homemade creations but also sets the perfect stage for experimenting with vibrant ingredients like heirloom tomatoes, which we explore in greater detail in our article on their diverse varieties and culinary uses – for more details, check out our Exploring Heirloom Tomatoes: Varieties and Uses.
Lacto-fermentation is a natural preservation process where beneficial bacteria called Lactobacillus eat the sugars in vegetables and convert them into lactic acid. Think of it as tiny kitchen helpers transforming cabbage into sauerkraut or cucumbers into pickles. No vinegar required. Just salt, vegetables, and time. (Yes, it’s basically controlled spoilage—but the good kind.)
How to start:
- Slice fresh vegetables.
- Toss with 2% salt by weight.
- Massage until juices form a brine.
- Submerge completely in a jar.
Creating a Hostile Environment for Pathogens
As Lactobacillus produces lactic acid, the brine’s pH drops below 4.6, an acidic level where dangerous microbes like Clostridium botulinum cannot grow (CDC). Acid is your invisible bodyguard. This is why fermented foods have been safely preserved for thousands of years.
The Role of an Anaerobic Environment
Fermentation must stay anaerobic (without oxygen). Beneficial bacteria thrive without air, while mold and spoilage organisms need it. Keep vegetables submerged under brine using a weight. If it floats, it molds. Simple.
Pro tip: Use safe food fermentation practices by sterilizing jars and checking for off smells or fuzzy growth.
Key Takeaway
Fermentation isn’t luck—it’s applied microbiology. Control salt, submersion, and time, and nature does the rest.
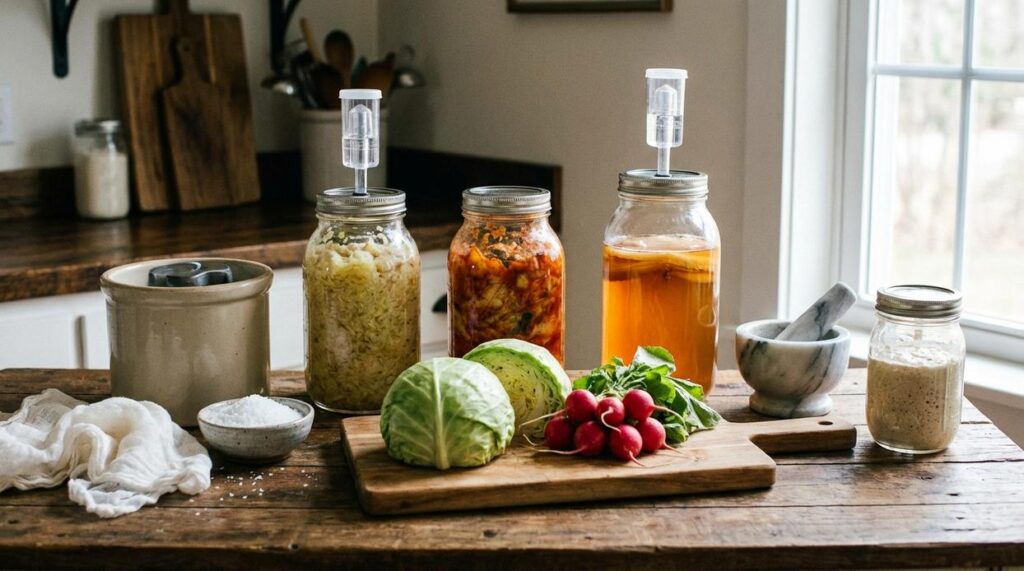
Your Fermentation Toolkit: Essential Gear for a Contamination-Free Start
First, choose your vessel wisely. Glass jars vs. ceramic crocks both work well because they’re non-reactive (meaning they won’t interact with acidic brine). In contrast, metal can corrode and leach flavors, while some plastics may scratch and harbor bacteria. If you’re debating jar vs. crock, jars are affordable and beginner-friendly; crocks shine for larger batches.
Next, keeping vegetables submerged is non-negotiable. Oxygen invites mold, so glass or ceramic weights vs. improvised cabbage leaves is a key comparison. Weights are more reliable (and less fussy).
Managing gas is equally important. Fermentation produces CO2. Airlock lids vs. loose lids? Airlocks automatically vent gas while blocking oxygen—cleaner and safer.
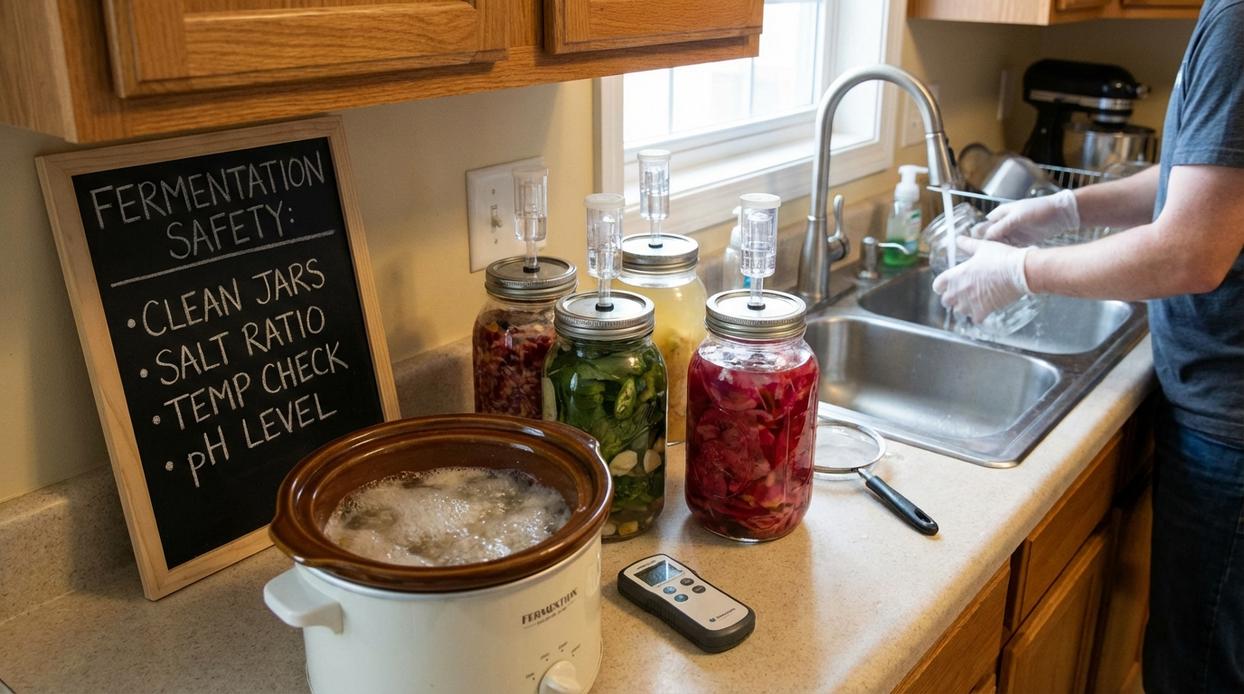
Finally, sterilize everything. Wash with hot soapy water, rinse, then run through a dishwasher cycle or use a vinegar rinse. These steps support safe food fermentation practices. For more detail, see the beginners guide to homemade vegetable fermentation.
The Three Pillars of Safe Fermentation: Salt, Submersion, and Temperature
Fermentation can feel like kitchen magic. Cabbage plus salt becomes sauerkraut; cucumbers transform into pickles. But behind the magic are three non‑negotiable pillars.
-
Salt Percentage Is Non-Negotiable
Salt controls which microbes thrive. Too little, and harmful bacteria may compete. Too much, and even beneficial lactic acid bacteria struggle. A reliable brine is 2–3% salinity: that’s 20–30 grams of non-iodized salt per 1 liter of water. Use sea salt or kosher salt—iodine and anti-caking agents can inhibit fermentation. Some argue you can “eyeball it.” Maybe, sometimes. But inconsistent salt levels are one of the biggest causes of spoilage (and regret). Pro tip: weigh your salt; volume measurements vary widely. -
If It Floats, It Molds
Oxygen is the enemy of lacto-fermentation. Every solid ingredient must stay fully submerged under brine at all times. Floating cabbage shreds or rogue herbs create perfect landing pads for mold. Use a fermentation weight or a small jar to press ingredients down. I’ll admit, there’s debate about whether surface yeast is always harmful—it’s not always clear—but mold is unmistakable and should never be scraped and ignored. When in doubt, discard and start over. -
The Ideal Temperature Window
Aim for 65–72°F (18–22°C). Warmer temps can speed things up but often produce mushy textures and off-flavors. Cooler temps slow fermentation, increasing the risk that spoilage microbes gain ground. Consistency matters more than perfection.
Follow these pillars and use safe food fermentation practices every time. The results? Tangy, crisp, and worth the wait.
A Sensory Checklist: How to Identify a Healthy vs. Unhealthy Ferment
Fermentation can feel like kitchen magic—but it’s really a science experiment in a jar. And yes, sometimes it’s hard to tell what’s normal and what’s not (even seasoned fermenters second‑guess themselves).
Trust Your Eyes
First, look closely. A healthy ferment usually shows active bubbling, cloudy brine, and vibrant color. That cloudiness comes from beneficial bacteria—microorganisms that convert sugars into lactic acid, preserving your food.
On the other hand, spoilage often appears as fuzzy mold in black, pink, blue, or green patches. Fuzzy is the key word. In contrast, Kahm yeast is a flat, white film that can form on the surface. It may look odd, but it’s generally harmless and can be skimmed off. I’ll admit: sometimes the difference isn’t obvious at first glance. When you’re unsure, compare texture—fuzzy equals toss.
Trust Your Nose
Next, smell it. A healthy ferment smells pleasantly sour and tangy. Think yogurt or pickles. A spoiled batch smells putrid, rotten, or like garbage. If your instinct says “nope,” listen.
Trust Your Taste (The Final Test)
If it looks and smells right, taste a small amount. It should be clean, sour, and salty—not rotten or harsh.
Use safe food fermentation practices. And remember the ultimate rule: when in doubt, throw it out. Even Jedi masters of fermentation started somewhere.
Fermentation doesn’t have to feel mysterious. Safety comes down to three essentials: proper sanitation, correct salt levels, and keeping everything submerged. Clean jars prevent unwanted microbes, salt creates an environment where good bacteria thrive, and submersion blocks mold from forming. When you follow these clear, science-based steps, you remove fear and guesswork from the process (yes, it’s that straightforward). Start simple with sauerkraut or classic dill pickles; they’re forgiving, affordable, and fast. Use safe food fermentation practices and taste the difference yourself. Confidence grows with each bubbly batch. Soon, you’ll savor vibrant, delicious, healthy flavors from your kitchen.
Bring Bold Flavor Into Your Kitchen With Confidence
You came here to explore the culinary buzz around flavor fusion, ingredient spotlights, fermentation techniques, and smarter meal prep—and now you have the insights to start experimenting with purpose. From elevating everyday dishes to understanding how fermentation transforms taste and texture, you’re better equipped to create meals that are both exciting and intentional.
If you’ve ever felt stuck in a recipe rut or unsure about trying fermentation at home, that hesitation ends here. Mastering safe food fermentation practices and creative flavor pairing is the key to turning simple ingredients into unforgettable dishes—without wasting time or compromising quality.
Now it’s your move. Start small: try one new fermentation project, test a bold fusion combo, or prep a week of flavor-packed meals using the techniques you’ve just learned. If you want proven ideas, practical guidance, and trusted techniques that home cooks rely on, dive deeper now and put these strategies into action today. Your next standout dish is just one experiment away.